Commandline window management on MacOS and Linux
Posted on di 07 december 2021 in desktop
Having a setup of multiple external monitors at home is great for productivity. I can see a lot relevant info in the blink of an eye with all the screen real estate at hand. Managing windows and their placement does become more of a hassle. More mouse movements to place windows, knowing that keyboard shortcuts often work faster.
Some of the people I work with are trying the tiling windows manager approach on their Linux machine. Instead of manually managing windows placement, they let their software decide window placement more or less automatically. But I kinda like manually managing my windows at times and I like things like visible UI bits such as buttons, window borders and such. The tiling approach is too minimalistic for me.
But I do want some more control over window placement, preferably without resorting to my mouse or touchpad. So I went on the Interwebs and clicked a lot of links and read a bunch off stuff. That led me to solutions for both MacOS and Linux that work quite well for me. At first, I found a tool that worked well for me in MacOS and then I searched for a tool that would give me more or less the same workflow on Linux.
What I am getting
What ended up with is a tool that will allow me to do the following things with the selected/active window:
* move it to the next display
* take the right half of screen
* take the left half of screen
* take the right top quarter of screen
* take the left top quarter of the screen
* take the right bottom quarter of the screen
* take the left bottom quarter of the screen
* take all the screen
And that is basically it.
Macos - Magnet
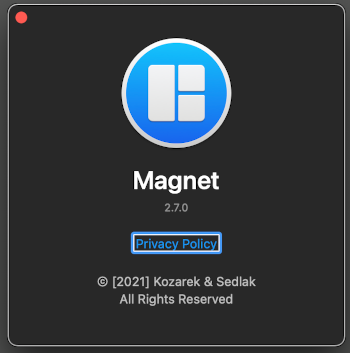
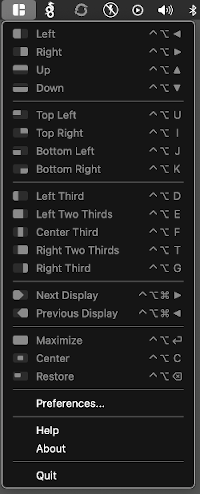
For Macos I settled on a utility called 'Magnet' which cost me about ten euro. It provides adjustable keyboard bindings to place windows on all sorts of predefined layouts. I tried it for a couple of days and figured it was easy enough for daily use. It took some time to memorize the keyboard bindings. Magnet has a menu option that will give you hints on what keyboard shortcut to use to what effect, helping the learning curve.
* CRTL+OPTION+CMND+->  : move it to the next display
* CRTL+OPTION+<-       : take the right half of screen
* CRTL+OPTION+->       : take the left half of screen
* CRTL+OPTION+I        : take the right top quarter of screen
* CRTL+OPTION+U        : take the left top quarter of the screen
* CRTL+OPTION+K        : take the right bottom quarter of the screen
* CRTL+OPTION+J        : take the left bottom quarter of the screen
* CRTL+OPTION+ENTER    : take all the screen
I was so happy about the improvement it provided for my daily work, I really wanted something similar on my Linux environment.
Zorin Linux
UPDATE: As of May 2022 I've switched gTile for Tiling Assistent. It does the same but has a better UI in my opinion. You can get it from the Gnome extensions website.
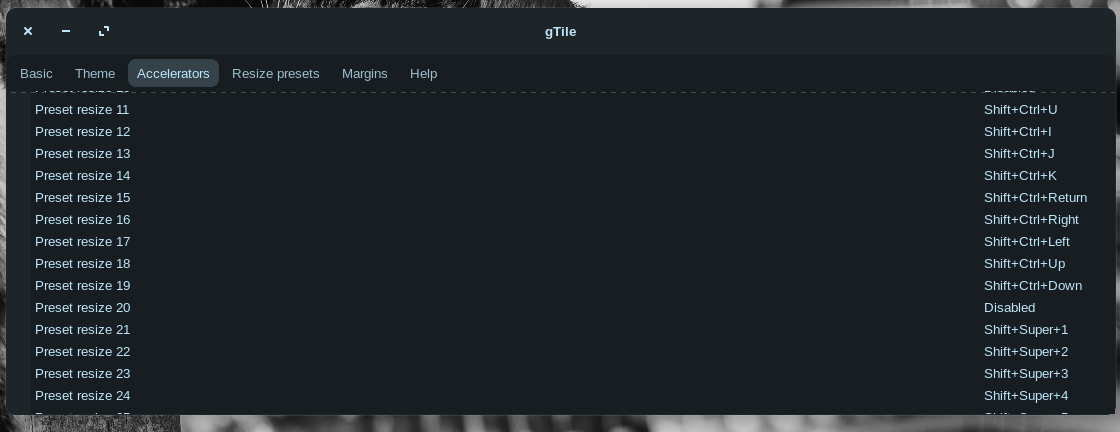
There is a gnome extension called gTile that I could easily install using the gnome extensions website. The gTile is very configurable and yes, confusing at first. But it seems very flexible to adapt to different needs. I must admit it took some time and trial and error to get the same behaviour that I liked on my Mac replicated to the Linux environment. But I did manage to make it work mostly the same as on Macos.
* ALT+CTRL+->      : move it to the next display
* SHIFT+CTRL+<-    : take the right half of screen
* SHIFT+CTRL+->    : take the left half of screen
* SHIFT+CTRL+I     : take the right top quarter of screen
* SHIFT+CTRL+U     : take the left top quarter of the screen
* SHIFT+CTRL+K     : take the right bottom quarter of the screen
* SHIFT+CTRL+J     : take the left bottom quarter of the screen
* SHIFT+CTRL+ENTER : take all the screen
All in all I'm very happy with these neat little tools on my desktop environments. So I thought I'd blog about it.